Pages

All about box camera photography with a special emphasis on Ensign Ful-Vue cameras.
Showing posts with label pulling film. Show all posts

Monday, 19 April 2021

Eye Level Box Camera: The Agfa Clack

Not all box cameras are shot at waist level. Some nice models are shot at eye level.
I have a couple in my collection and on the arrival of the recent lambing snows in my part of the world I thought it'd be nice to go out, play in the snow a bit and take some snaps with one of these machines. 

I'm pretty comfortable shooting at waist level now. I can usually do it without camera shake. Depending on the model of camera, and the size of its viewfinders I can more or less get a straight horizon too, though this is challenging on some, cough cough Junior Box Ensign

The eye level shooter I chose today was an Agfa Clack,which is a really lovely model with bells and whistles such as a swing in place close up lens with built in yellow filter, and two apertures, f/11 and f/12.5! It shoots eight 6x9 frames and has a 95mm meniscus lens. It's solidly made and feels nice to handle. In the right pair of hands it takes great shots.

Mine were not the right pair of hands today. I thought I was managing to keep the camera steady but the image blur shows I failed. The only image that was crisp, the last one, was also the only image I took in portrait instead of landscape. This suggests to me that my method of holding the camera up and pressing the shutter release with my right thumb was the problem, as when I held the camera differently for that one shot it remained steady. 

I can hardly review the camera with these shots. It would be grossly unfair. As the final, sharp shot demonstrates, the lens has some decent resolving power so I will have to learn from my mistakes and take this camera out again. It was still fun being out and about with a box camera, and I hope with time I'll get the hang of this one. 

I was shooting Catlabs X Film 80, pulled a stop to ISO 40 as the snowy conditions were so bright. The pictures are ordered from worst to best.

1) House and Boat
 

2) Fence Posts

 
3) Drunk Gate

4) Impressionist Power Poles


5) School Football Pitch


6) Road


7) House Under Clouds


8) Stream
 

So some of those pictures will probably give you a headache if you stare at them too long. Others are blurry though I don't mind the results. I actually quite like the slightly impressionist vibes I get from the shot of the power poles, and I find the mild soft focus of the road shot quite pleasing. The image has a nice mood. I was very happy with the stream shot though. I think it gives a tantalising taste of what this camera can do. Let's hope I do better next time.

Sunday, 21 March 2021

Toggling Your Box Camera's ISO

Note: May not be a box camera.
 

I get it. 1 aperture and 1 shutter speed. Kind of limiting, I know. While it's definitely worthwhile getting familiar with the various EVs your box camera can shoot in without adjustments, it is undeniable that having a workaround for when the light doesn't suit your settings is a big plus. It makes the camera more versatile, increases your creative options, and removes a lot of the frustration:

 "If only I could take that shot, but it's just too bright!"

Well the good news is there are some tools and techniques that can help, so never again do you need to curse yourself for bringing your beloved box camera instead of your SLR.

Too Much Light

Box cameras have slow shutter speeds. Laughably slow by modern standards. Most people these days don't entertain shooting handheld at 1/30th of a second, or at least not without lenses with image stabilisation or cameras with vibration reduction. Lacking these features on our box cameras we have to resort to things like exhaling after the shot has been taken, or placing the camera on a flat surface. This works for the most part, but the slow shutter speed can cause headaches when there is a lot of light. Simply, they may cause the image to be overexposed. 

If my camera is loaded with ISO 200 film and I am shooting in very bright conditions, my pictures will be overexposed by maybe one or two stops. We can solve this "in camera" (as opposed to when we process the film), with the addition of a neutral density filter. 

If you're not familiar with neutral density filters, put simply they reduce the amount of light entering the lens, without a colour bias (at least the good ones). They come in various strengths, so depending on the one you use could reduce the light by 1 to 10 stops (and further if you have the bank balance of an oil tycoon). These have many creative purposes, such as allowing the deliberate use of slow shutter speeds to capture motion blur, (think dreamy waterfall shots), or allowing a wide open aperture to produce more shallow depth of field.

For our immediate purposes, we just want our shot to expose correctly. So if our light meter determines that we risk an image being 1 stop over exposed, we can place an ND2 filter in front of the lens and then take the shot as normal. If we risk 2 stops of over exposure, we do the same with an ND4 filter. If 3 stops, we use an ND8 filter. Simple. 

Too Little Light

I have a box camera loaded with Ilford Pan F 50 (or worse, Rollei RPX 25) and when I get to my location it has turned overcast, typical. This, and other low speed films like lots of light. So finding myself in lighting conditions such as EV12 or EV11, suddenly my famously slow shutter isn't slow enough thanks to the fixed f/11 aperture. Now, this workaround won't be appropriate for all subject matter, especially if it's moving, but the simple answer to this is to secure the camera so it is absolutely still and then take the shot more than once. Each click of the shutter lets in more light.

Take the photo twice to add one stop of light. Take it four times to add 2 stops of light. Eight times to add 3 stops of light etc.

This will work with mountains, but your dog won't sit there perfectly still while you click the shutter release four times, so choose your subjects carefully. 

Ful-Vue settings:

ND8 @ 1/30 = 3 stops less

ND4 @ 1/30 = 2 stops less

ND2 @ 1/30 = 1 stop less

1 shot = 1/30 of a second

2 shots = 1/15 of a second (1 stop extra)

4 shots =1/8 of a second (2 stops extra)

8 shots - 1/4 of a second (3 stops extra)

A handy way to get the ND range is a small cheap variable ND filter, which will be plenty reliable at these low settings.

There we go, we can now get +/- 3 stops on a box camera with only 1 extra filter in the gear bag. You can take it further, but pressing the shutter 16 times will get tiresome and the good high stop ND filters are pricey.

Development

Both of the approaches outlined so far to either increase or reduce the amount of light entering the lens are approaches that can be done on location, in the moment, in camera. However, there is another approach that can also help keep you snapping away without worry that the pictures will be under- or overexposed. This approach takes place during development, back home, once all the pictures are taken. Or, if you don't develop your own film, a lab will do this for you. Just make sure they know your requirements.

The processes are called push, and pull developing. Basically, you compensate for the under- or overexposed images by toggling their development times. If your images were overexposed, you want to pull the film. If your images were underexposed, you want to push the film. 

It is highly important to note that this only works for the whole roll, not individual shots.

Pulling Film

I've discussed pulling film here before, but to pull film you need to reduce the development time by about 10% for every stop pulled. My husband has a neat calculator for this on his own website, which can help you determine the correct development times. If you are loaded with ISO 100 film, and decide a reduction of 1 stop to ISO 50 would better suit the lighting conditions, then you pull by 1 stop. If you are loaded with ISO 200 film, then you'd need to pull by 2 stops etc. 

What this means on the actual shoot is that you just take your pictures as normal (no neutral density filters) resulting in a roll of overexposed images. The shorter development time then compensates for this and should result in developed images that look correct and not overexposed. 

Pushing Film

We do this for the opposite scenario. For example, you are loaded with ISO 50 film and an increase of 1 stop to ISO 100 would better suit the lighting conditions. In this instance you push 1 stop. If you need ISO 200, you push 2 stops and so on. Predictably, when pushing, you want to increase the development times. Use Nicky's clever calculator to work out the necessary timings for your own film development.

Again, during the shoot, just take the pictures as normal. No taking multiple exposures. You will end up with a roll of underexposed images and the push processing should correct this. I've got a few posts on this blog where I experiment with this method using Catlabs X Film 80, which produced some good results. By pulling and pushing I was able to treat it anywhere from ISO 50 to 640 without any problems. 

Pros of this Method

1) Nice and flexible. You can basically load up your film, make a mental note of the EV at your shooting location, then work out which ISO would have been best suited to those lighting conditions and push/pull accordingly.

2) Less limiting. You can still shoot your camera even if the box speed of your film isn't ideal and still get good results.

Cons of this Method

1) All or nothing. You can't push/pull just a few frames. It affects the whole roll.

2) Not all films are created equal. You can push and pull some no bother. Others within reason, and others should be left well alone. You'll have a lot more wiggle room with black and white film than colour. Make sure you do your research first.

3) Just like with digital photos, if you toggle the ISO this way you increase the noise. The more stops you push, the more grainy the images. The more stops you pull the more contrast you lose.

Things to Consider

1) Is the roll already part shot with correctly exposed images? Then you probably don't want to shoot the rest of the roll with a view to push/pull processing. You'll ruin the first images.

2) Are the lighting conditions really changeable? Then you probably want to correct the exposures in camera with filters or multiple exposures, or you will get inconsistent results.

3) Do you know that the lighting will stay consistently too high or too low? Then correcting the exposures in development is the best option if the camera is loaded, or the film cupboard was sparse.

Some Results

Catlabs X Film 80 pushed to 640
Catlabs X Film 80 pulled to 50


Wednesday, 6 May 2020

Double Exposures on the Fulvueflex Synchroflash

I had one roll of Catlabs X Film 80 left so I decided to have some fun and give some double exposures a try. I'd never taken double exposures before (not intentionally anyway) but I knew the basics. The second image will show up most obviously on the dark areas of the first image. Normally one would underexpose each image by one stop to make sure the final image is correctly exposed. Of course, with box cameras there's no adjusting the settings, so you have to do this in development.

There is an art to taking good double exposures. One of the most helpful demonstrations I've seen is this video by Eduardo Pavez Goye, so definitely check that out if you're interested in giving it a try.

I think I need a bit more practice yet, but these were some of the better results. In the end I pulled these shots to ISO 50 and developed them in HC110(B) for 7:50 minutes at 20°C.

Bath tub in the rushes


Beware


Extra secure storage


Portrait of my husband


Ghost boat


Beached

So, that was fun! After shooting 10 rolls of Catlabs film I'll definitely buy more. The results have been great and I think I can call my experiment a success. You can load a box camera with the same speed film in all different lighting conditions and then compensate in development. I pulled the film to ISO 50 and pushed it as far as ISO 640 and got great pictures. There are probably other film stocks that are just as versatile. I wanted to give Catlabs a go because I'd never shot it before. Like I've commented before, the grain is very fine, the latitude is impressive and the film is super versatile in development so overall very happy with the results.


Friday, 17 April 2020

Pulling Catlabs X Film 80

My first test shots with Catlabs film were on a miserable and overcast day. This
next batch of test shots were taken on one of the brightest days we've had so far this year. The light conditions were at the higher end of EV13, pushing close to EV14. This was a great opportunity to try pulling the film to 50 ISO, so I loaded up the early model Ful-Vue and went out shooting.

If you search pushing/pulling film online you'll find far more results for pushing film. There are some firmer guidelines around pushing, whereas pulling is more of a dark art. After much searching I found a forum where a contributor stated for every stop pulled you should subtract 10% from the development time. After more searching I found another forum and someone else stating it should be 20%.

I decided to settle in the middle at 15%. Pulling from ISO 80 to 50 is only 2/3 of a stop, so I needed to reduce my development time by 10% (15% for whole stops, divided by 3 = 5% for 1/3 of a stop, and 5% x 2 =10% for the 2/3 of a stop). The standard development time for Catlabs rated at 80 ISO in HC110 developer is 8:45 minutes. Maths is not my strong point, whereas my husband finds sums on this level entirely trivial. So, on the off chance you struggle with this sort of thing too, I've asked him to explain how to work out the reduced development time here:

...Nicky explains with simple words
So having worked out that we need to reduce time by 10% we do some trifling simple maths and say that 8:45 becomes about 7:50. Bosh. Done. Pint time. What do you mean you want the details... Oh, fine, here they are.

100% of time is 8:45, now that's all well and good but we need it in decimal form to do maths, so divide the seconds by 60 to get decimal minutes: 45/60 = 0.75 minutes. Add the 8 back on and voila, 8.75 minutes.
Ok, now to reduce by 10%: 100% - 10% = 90% (yeah, that is easy, but now for the part surprisingly few people get) % means percent, which means divide by 100. So lets divide 90 by 100 and hey ho, its 0.9. Now for the next bit that trips people up: Multiply the 8.75 by 0.9 and we get 7.875. What has magically happened here is we have used multiplication to carry out a subtraction. Boom, minds blown, yeah, I know.
Righty, now we have a useless decimal number of minutes because our timer works in minutes and seconds. So we need to know how many seconds to set it for. Just do the decimal conversion backwards. Subtract off the 7 whole minutes part to leave the 0.875 minutes part. Multiply that by 60 seconds and get 52.5 seconds. Now this is a fiddly number of seconds so we will call it 50 seconds. Add the 7 whole minutes back on to get 7:50. Right, now is it pint time? No? What do you mean I cheated you out of 2.5 seconds... No one cares about those, this is an analogue process and most analogue things are normally within a tolerance of ±50%. Plus it'll take far longer than that to pour the chemicals in and out. Anyway, pint time.


Thank you Nicky. Since then Nicky made this handy calculator to do the maths bit for you.

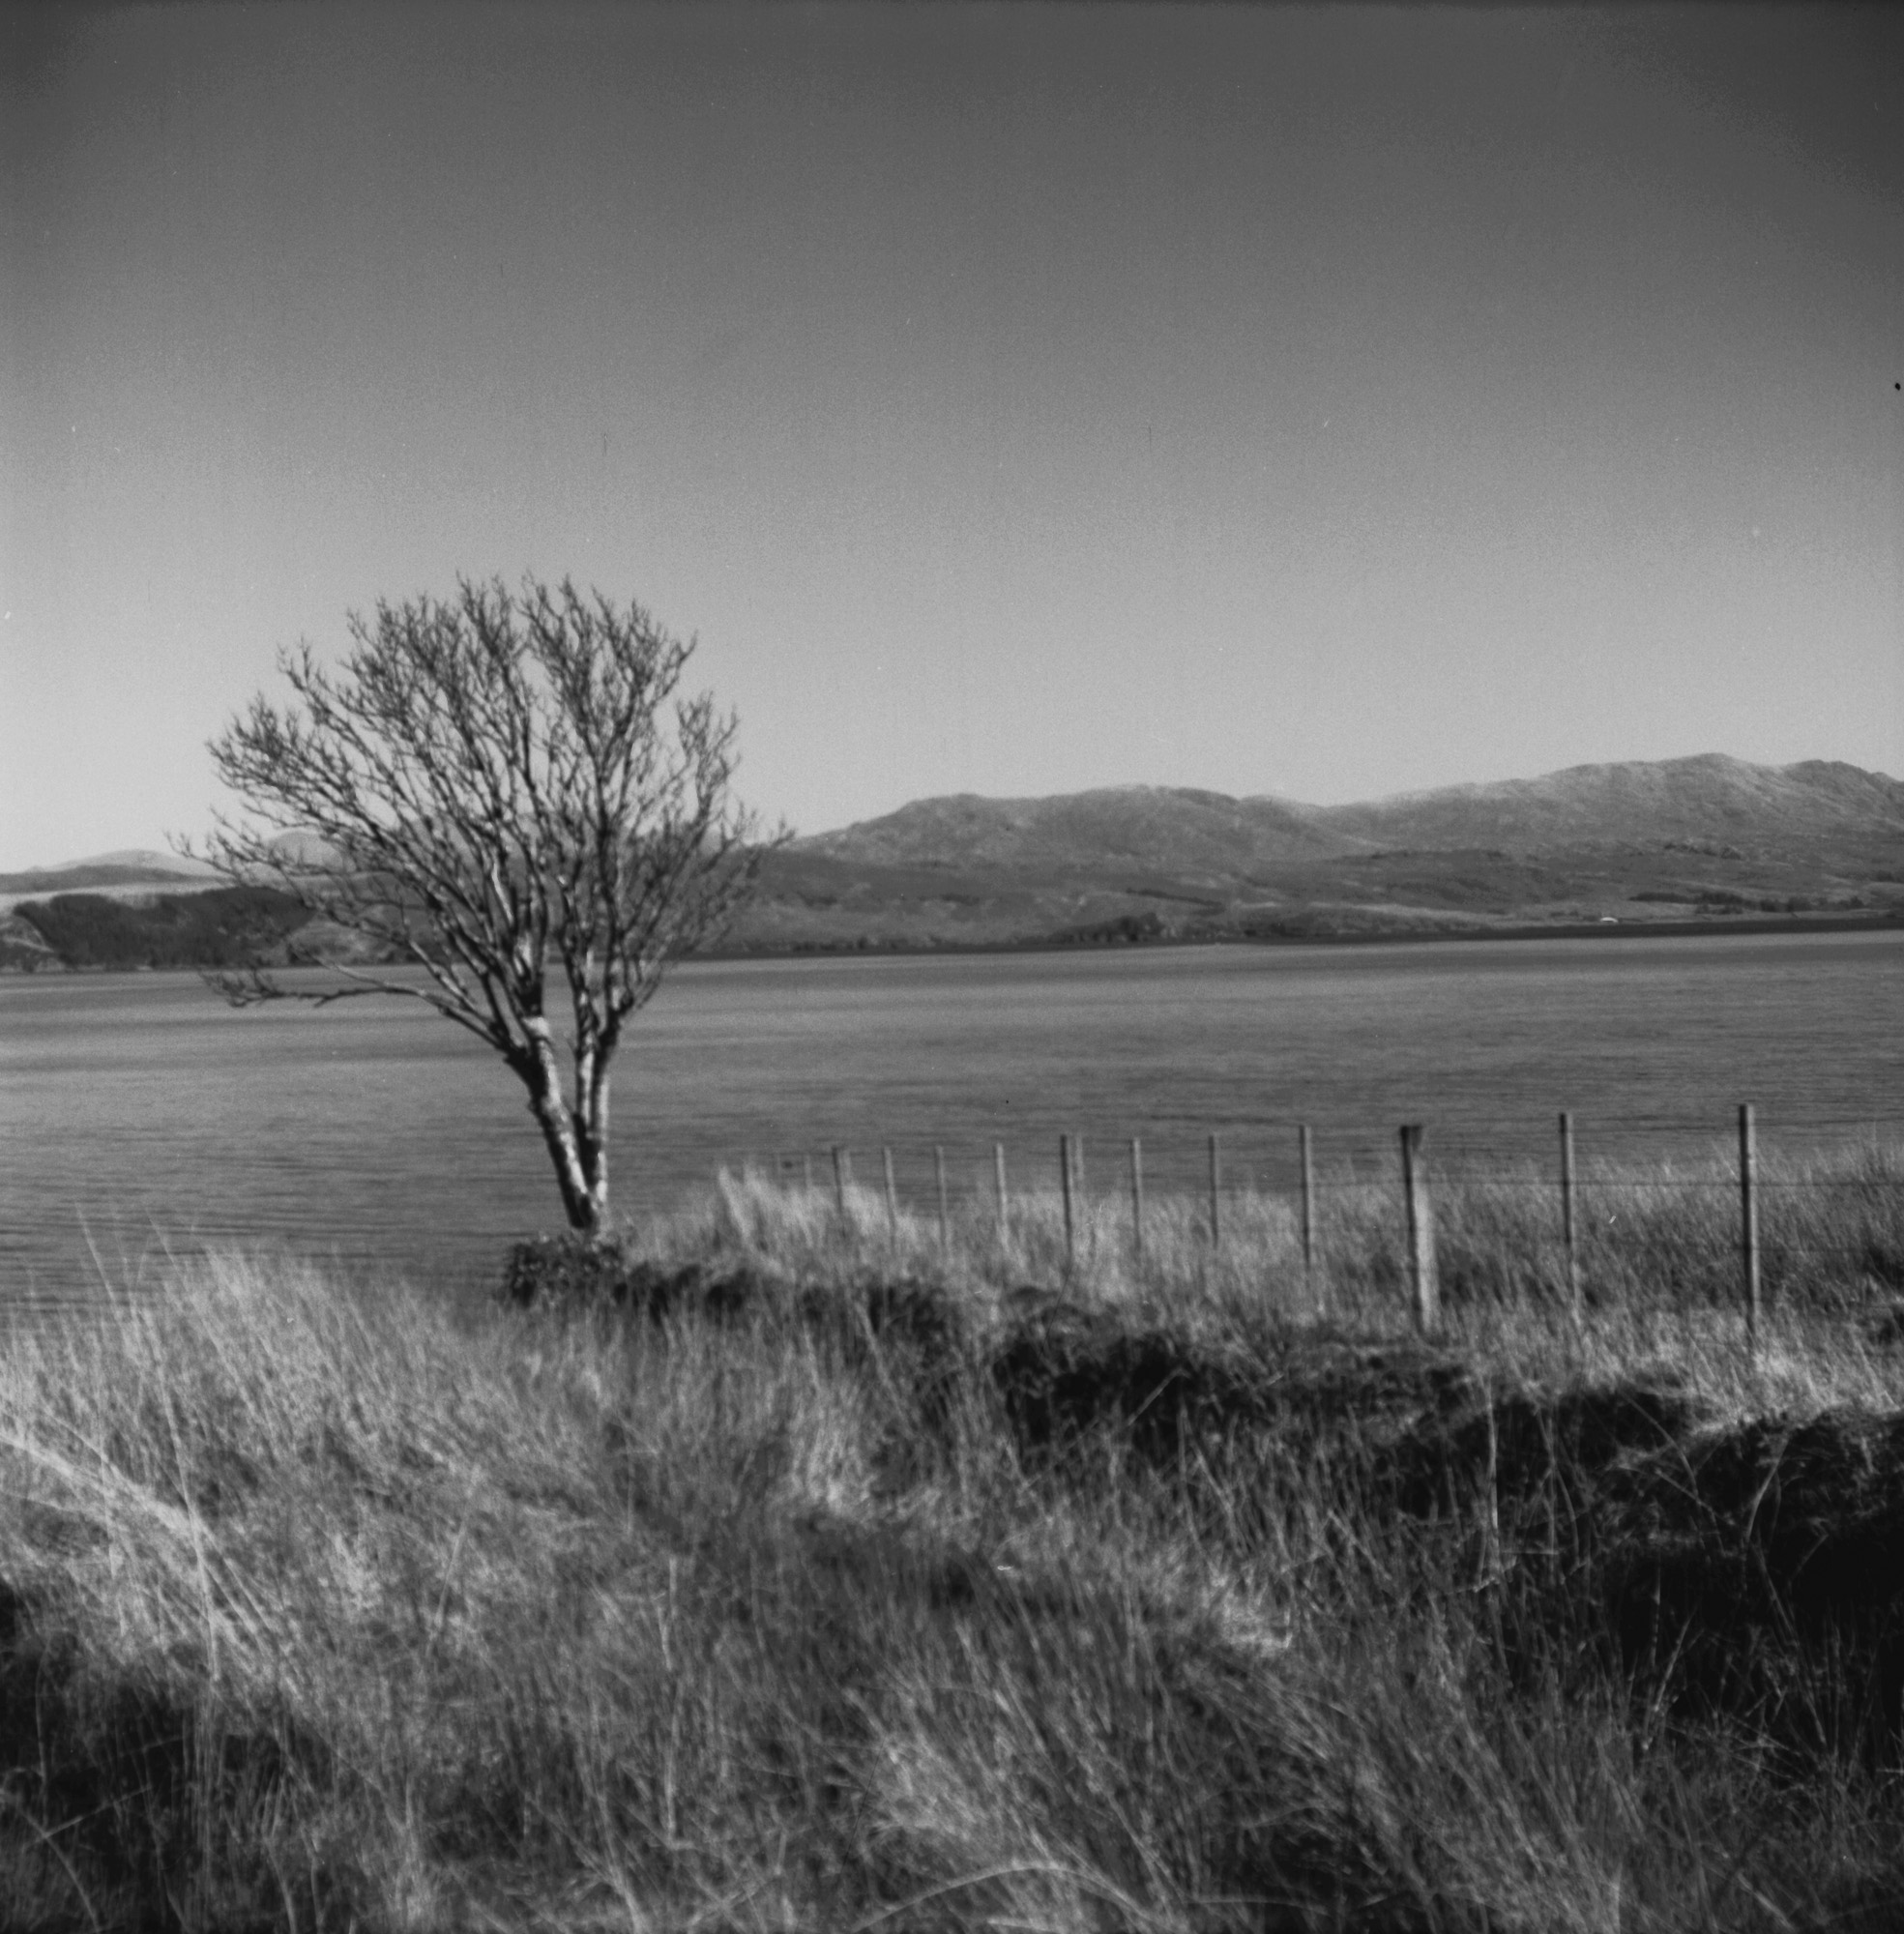
So, I developed the film for 7:50 minutes. Here are the results. Although conditions were very bright, they were also very hazy, so I tried to focus on close-ups and keep the sky and far distance out of the photos. Where that wasn't possible I used a yellow filter to cut through some of the haze.

Bad Hair Day. Taken with the lens pulled out for close-ups. This creates a strong vignette.
Old Chimney.


Fence Post - Again taken with the lens pulled out, creating a strong vignette

Tree. Taken with a yellow filter.

Lisa Jane.

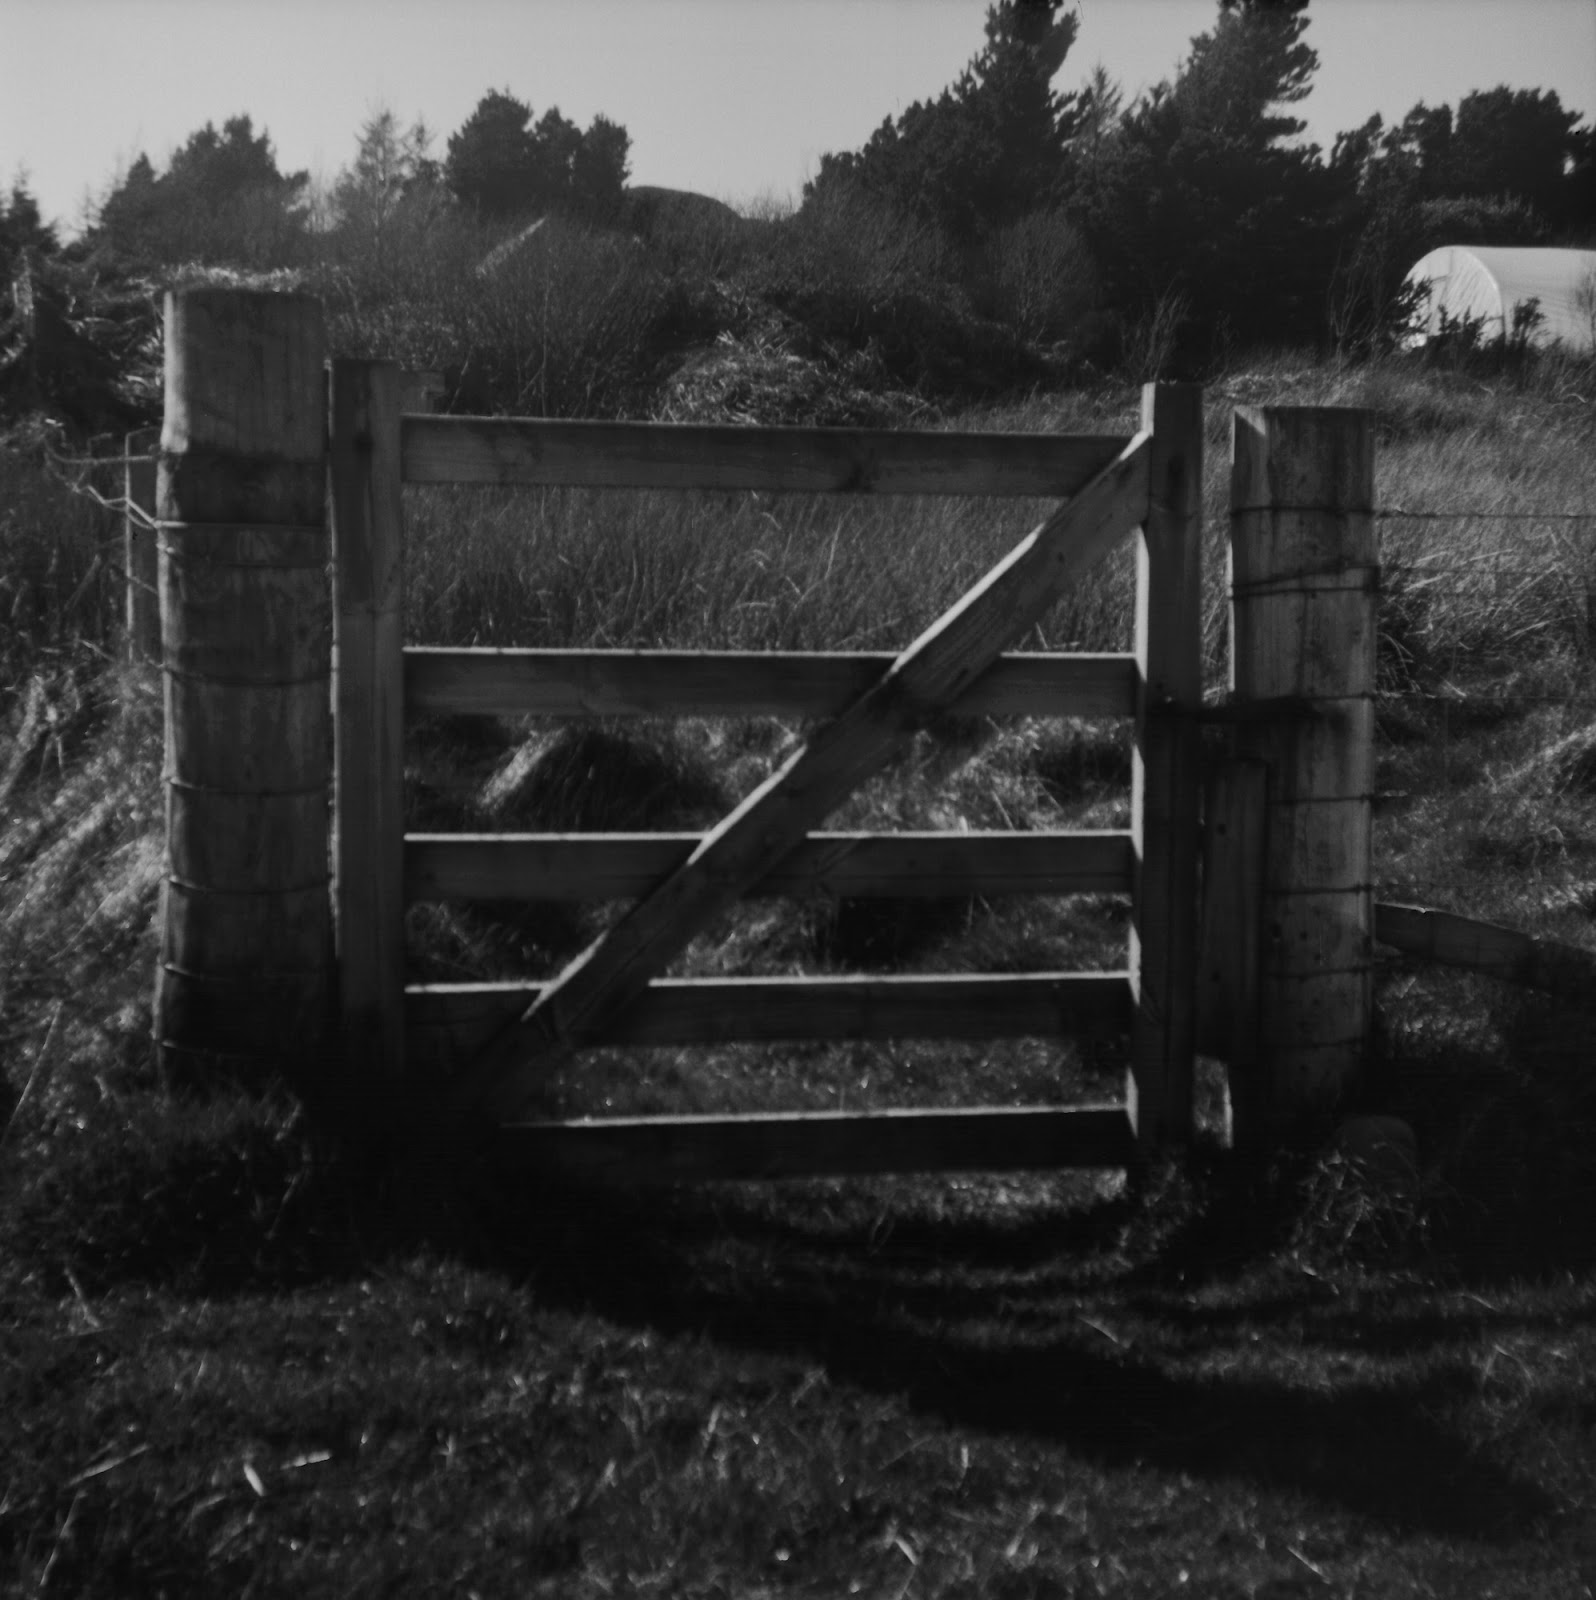
Gate


Shore Path. Taken with a yellow filter.


Staggered Fences. Taken with a yellow filter.


Ruins


Garden Shed (also featuring cameo of Tree). Taken with a yellow filter.


Friendly Horse. Taken with lens pulled out.


Old Bench.

I'm really happy with the results. The film works well pulled to ISO 50. I'm also delighted with how the Ful-Vue performed. Looking forward to more experimenting with Catlabs film.