Pages

All about box camera photography with a special emphasis on Ensign Ful-Vue cameras.

Thursday 30 April 2020

You've Taken the Photo, Now What?

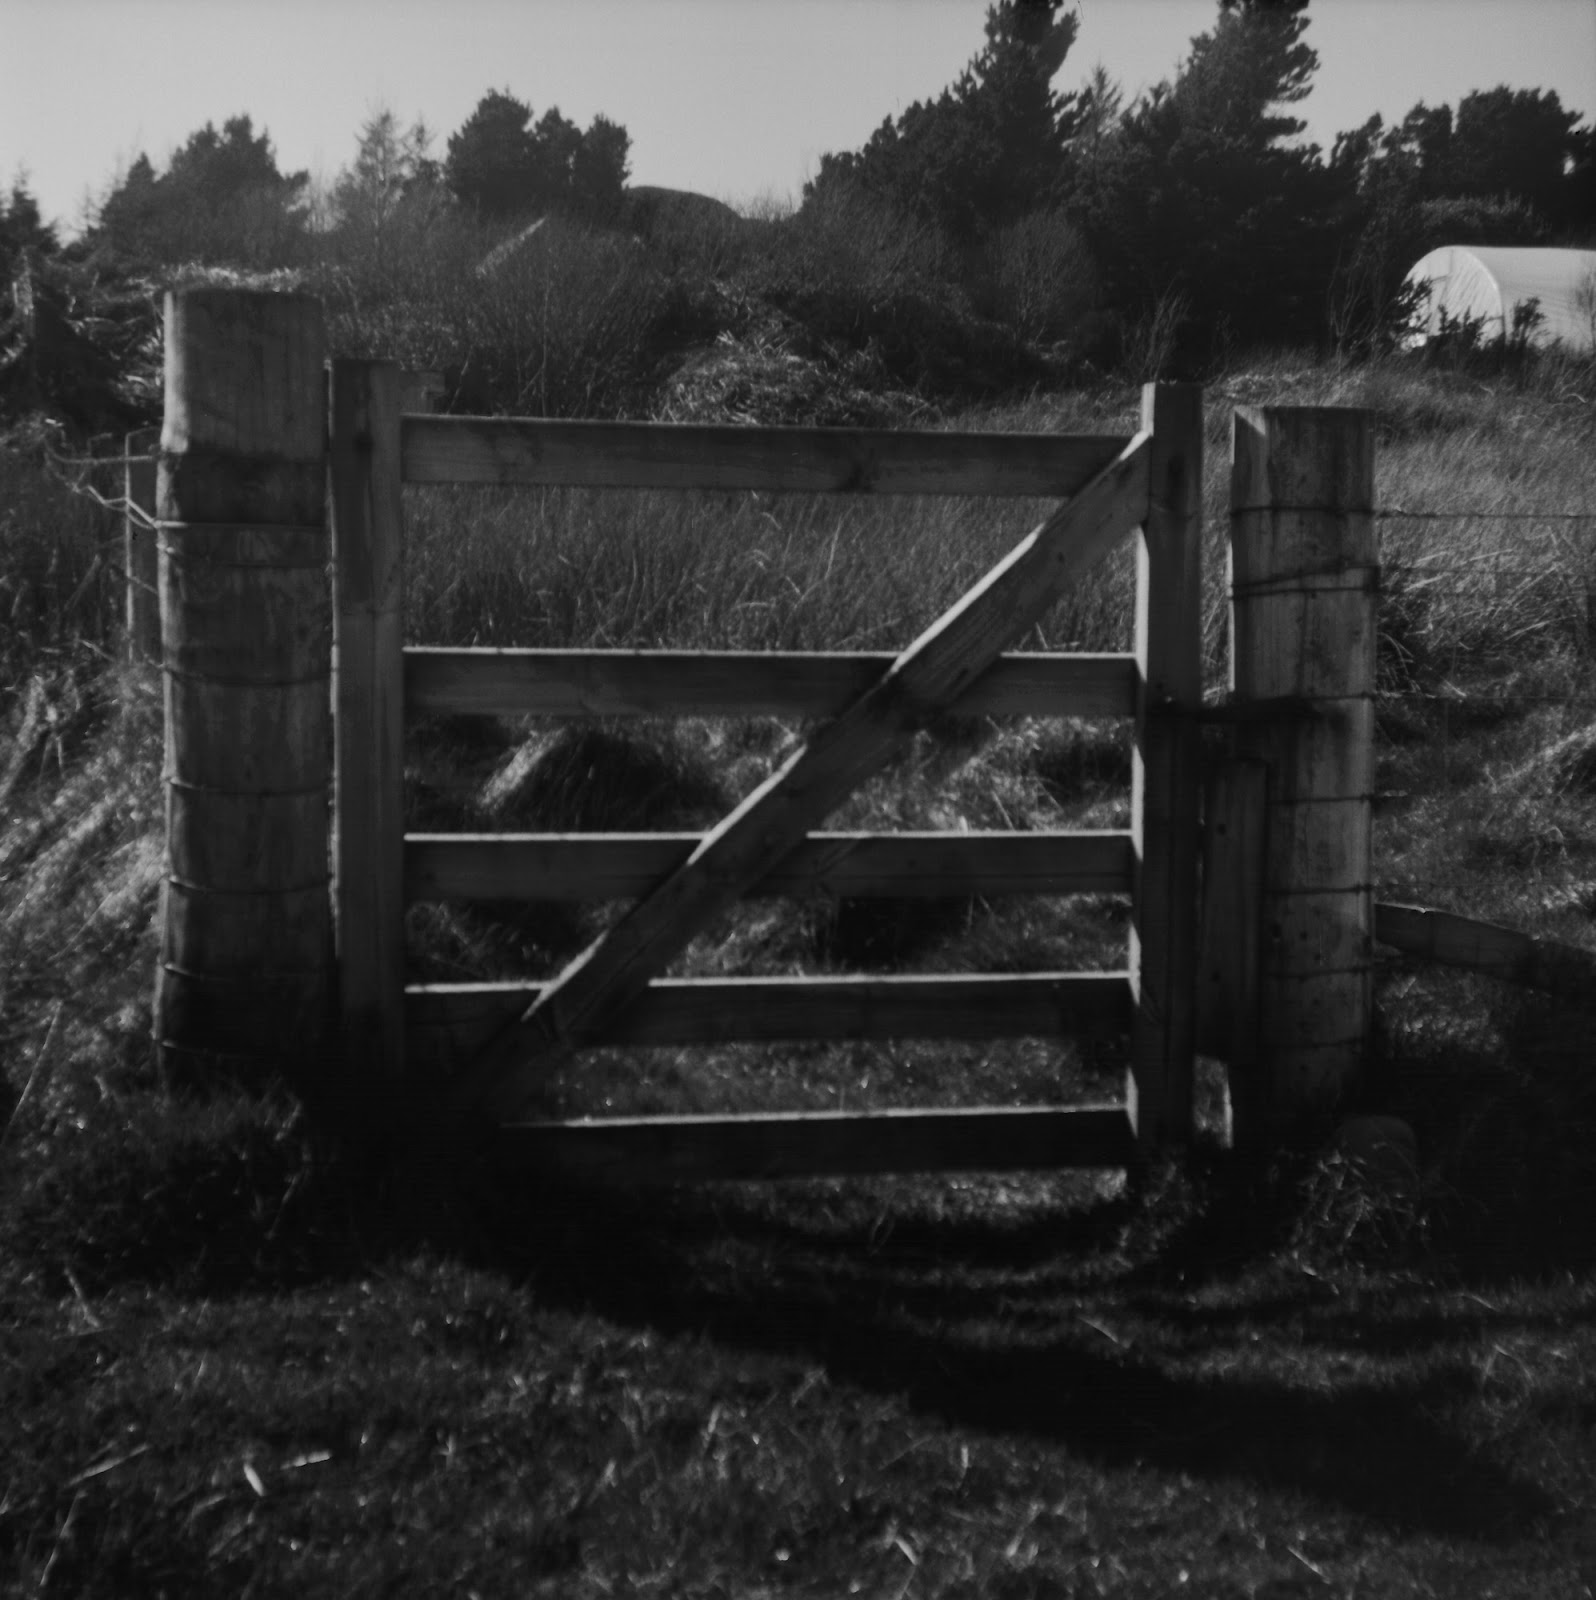
6x4.5 negatives shot on the Ferrania Zeta Duplex
When I was a child I often wondered why my grandmother's old family snapshots were so tiny compared with the photos that we received back from the lab taken on our old 90s point and shoots. It wasn't until much later that I figured out they were contact prints, and the size was determined by the size of the negatives they were shot on.

Snapshots are moments in time. They are records of a moment that the photographer felt was important enough to record for posterity. They can contain precious memories and hold great sentimental value to those that inherit them. However, cheap snapshot cameras were equipped with single element lenses that didn't have amazing resolving power. We've all seen snapshots taken in haste, some with fingers covering the lens, some that cut off the tops of people's heads, some that feature camera shake or motion blur. That's fine. They're not meant to be works of art. But, because of all those things, snapshots weren't really good contenders for enlargement and mounting on your living room wall. Rather they were enjoyed in more intimate family albums. The resolving power of the lens is fine in small prints. Box cameras shot negatives that were 6x4.5cm, 6x6cm, or 6x9cm. That size was plenty big enough for a contact print that could then be stuck in a photo album.

So what are contact prints? Well, as a medium for producing final prints of a snapshot, it isn't really practised any more. They are still made, however, for darkroom work. Basically, a contact print is a print made by placing light-sensitive paper in contact with a negative and then shining a light through the negative to expose the paper. The paper is then put into developer, a stop bath, and fixer and you have a print that matches the dimensions of the negative. They are useful in darkroom work because they provide a quick preview of the photos taken on a roll of film. They help you pick the ones you'd like to do more work on and maybe enlarge.

These days box camera shooters are more likely to scan their negatives and share them digitally. Back in the mid-twentieth century though, hobbyists could buy contact printing kits. At their simplest, the kit contained a cardboard cut-out frame that would clamp the negative and printing paper together, and some developing trays. Due to the low sensitivity of the printing paper at the time, a household lamp could be used to make the exposure in a dimly lit room.

The instructions for the Johnson "Print-a-Snap" kit state:
You need not black-out the room completely - simply wait until it is fairly dark and draw the curtains to exclude any bright lights from outside. 

It recommends doing the development in a shaded part of the room and offers the following diagram as an example. In it, a sheet of cardboard divides the work space:

Once the paper and negatives were loaded in the frame in subdued light, it was simply a case of holding the frame up to the lamp to expose the paper. Naturally there was some trial and error involved depending on the strength of the bulb and the distance the frame was held from the light.


The instructions recommend doing test prints until you get satisfactory results. There are some other very rough guidelines:
You can arrange a convenient exposure of about 10 seconds for an average negative by holding the frame either 1 foot from a 25 watt lamp, 1ft. 6 ins. from a 40 watt lamp, 2ft. 6ins. from a 60 watt lamp or 4 feet from a 100 watt lamp.

It is a little difficult at first to judge how much to alter the exposure for the next test but if the strip is much too light try increasing the exposure to 20 or 30 seconds. If it is much too dark, reduce the exposure to 5 or even 3 seconds.

If an average negative needs 10 seconds exposure a very thin one may need only 3 seconds and a very dense one 30 seconds or more.

If you wanted to upgrade your kit you could buy better printing frames that would clamp the negative and printing paper tightly against glass. "See-Thru" masks were also available that would produce nice white borders around the prints. You could also buy battery or mains operated contact printers. These were printing frames that sat on top of a plastic body that contained a bulb. The closed lid held the negative and paper in place and the bulb would expose the paper.

Should you wish to give this old fashioned way of contact printing a go, just be aware that modern photographic paper is highly sensitive, so it won't be safe to expose it to a dimly lit room as used to be the practice. Ideally you'd need a designated dark room where you can work with a safe light.

Monday 27 April 2020

Testing a Junior Box Ensign


While I've been experimenting with Catlabs film, I have added a new box camera
to the collection. This is the Junior Box Ensign, which predates the first Ful-Vue by about a decade. They were made between 1929 and 1933 and there are two striking differences from the Ful-Vue range. First, the camera is much bigger, particularly taller. This is because there is no inner cone for film loading. Instead, the take-up and loading spools sit above and beneath the film plane respectively.

The other obvious difference is the viewfinder. The Ful-Vue finder is huge. The Junior Box has two finders and each is miniscule. The one on top is for vertical shots and the one on the side is for horizontal shots, just like the Ferrania Zeta Duplex I tested not long ago. I thought composing on the Ferrania was hard. This was harder. No wonder the Ful-Vues were so popular.

There were no details in the camera's literature regarding its aperture or shutter speed. In the end my husband and I made an educated guess at f/12.5 and 1/40. Judging from the results we were about right. The lens does not focus closer than 10 feet.

I ran a roll of Catlabs X Film 80 through the camera. I had a wonky horizon on nearly every shot. Interestingly I also ended up with a lot more sky than I intended with some of them. The subjects were so tiny it was hard to know at times if I was even pointing at the right thing.

Another quirk of this camera is that the shutter fires when you push the lever in either direction, which took some getting used to. 

Anyway, I ended up with eight 6x9 exposures and although the compositions of some are questionable due to photographer error, the lens performed well, producing a minimal vignette. The images aren't tack sharp of course, but the vintage character of the lens is nice.

Here are some of the results:

A nice rural scene


More sky than I wanted, but still a nice capture. The horizon was straightened a little afterwards.


My favourite shot, though still not straight.


It nicely captured this moody scene.


A ridiculous amount of sky. I must have tilted the camera a fraction before shooting.


So, more practice required with the Junior Box Ensign. A nice camera though. Because it is so big it's easy to steady so there is less chance of camera shake. I was a bit worried the shutter lever might get nudged in my bag as I was walking, but there were no accidental exposures.

During production this camera was a budget model available for 8s 6d. It was also available through premium schemes in return for tokens, and would arrive with a roll of film. I think I'd have been delighted with it, once I got the hang of those tiny viewfinders of course.


Sunday 26 April 2020

Pushing Catlabs to 640


Having had good results pushing Catlabs X Film 80 all the way to 320, I decided to try my luck one stop further at 640. I loaded up the Ful-Vue model II and waited for the sun to start setting. When it was low enough I ventured out to my usual spots for test shots and returned with 12 exposed frames. I developed the film in Rodinal 1+25 at 24°C for 30 minutes. I had absolutely no idea what to expect. I didn't know if the development would work or if the pictures would all be horribly underexposed.


Here are the results:


Modus - The shiniest my car has ever looked - lens set for close-ups


Backlit Daffodils - very happy with how this came out - lens set for close-ups.


Firemore Beach and Cable Hut


Loch Ewe


Jetty - with lens flare


Cave


Looking out to sea - light was getting pretty low by now


Trees - A little underexposed but still nice


Cottage


The Torridons


Gate Post - lens set for close-ups


Another view of the Torridons

So, once again, pretty impressed. That little meniscus lens produced some nice sharp images, especially of my car and the gate post. The Catlabs film handled pushing this far just fine.

Tuesday 21 April 2020

Pushing Catlabs Film with an Ensign Cupid

Today I shot another roll of Catlabs X Film 80, this time pushing it to ISO 200. I had another box camera that I hadn't tested yet so I thought I'd take it out and see what it can produce. The camera is a very early box camera made by Houghtons Ltd and couldn't be more different from the Ful-Vue. It is an Ensign Cupid, which was in production between 1922 and 1928.

The first thing you'll notice is that it isn't a box, in fact it has a very distinct T section. There is no glass viewfinder. Instead there is a huge fold-up frame finder with cross-hairs to assist with aim. Obviously this means you hold the camera at eye-level when shooting.

To cock the shutter you pull up the pin in front of the frame finder. There is a shutter lever to choose between Instantaneous and Time exposure and at the base of that is the shutter release button.

The achromatic lens helps to prevent aberrations. The camera shoots at roughly 1/40 at f/11. It's unique selling point, though, is that it shoots half frames so instead of 8 exposures you get 16.

So, naturally I was keen to see what this camera could do. It was shooting in the evening sun so I decided to push the film to 200 in development. The negatives were developed in HC110 (B) for 15 minutes. If you are curious about how to calculate timings for pushing or pulling film, check out my previous post, which has a link to a neat calculator created by my husband.

Here are the results:


So, for a camera that is nearly 100 years old I must say it's a delight to shoot and produces nice images. The lens stays remarkably sharp close to the edges and only gives a mild vignette. Clearly it also produces some impressive flare when pointed at the sun, though whether that is good or bad is personal preference. While the viewfinder looks comical I got pretty much everything I wanted in the frame, so it worked.

Pushing Catlabs to 200 worked nicely with these images.

Friday 17 April 2020

Pulling Catlabs X Film 80

My first test shots with Catlabs film were on a miserable and overcast day. This
next batch of test shots were taken on one of the brightest days we've had so far this year. The light conditions were at the higher end of EV13, pushing close to EV14. This was a great opportunity to try pulling the film to 50 ISO, so I loaded up the early model Ful-Vue and went out shooting.

If you search pushing/pulling film online you'll find far more results for pushing film. There are some firmer guidelines around pushing, whereas pulling is more of a dark art. After much searching I found a forum where a contributor stated for every stop pulled you should subtract 10% from the development time. After more searching I found another forum and someone else stating it should be 20%.

I decided to settle in the middle at 15%. Pulling from ISO 80 to 50 is only 2/3 of a stop, so I needed to reduce my development time by 10% (15% for whole stops, divided by 3 = 5% for 1/3 of a stop, and 5% x 2 =10% for the 2/3 of a stop). The standard development time for Catlabs rated at 80 ISO in HC110 developer is 8:45 minutes. Maths is not my strong point, whereas my husband finds sums on this level entirely trivial. So, on the off chance you struggle with this sort of thing too, I've asked him to explain how to work out the reduced development time here:

...Nicky explains with simple words
So having worked out that we need to reduce time by 10% we do some trifling simple maths and say that 8:45 becomes about 7:50. Bosh. Done. Pint time. What do you mean you want the details... Oh, fine, here they are.

100% of time is 8:45, now that's all well and good but we need it in decimal form to do maths, so divide the seconds by 60 to get decimal minutes: 45/60 = 0.75 minutes. Add the 8 back on and voila, 8.75 minutes.
Ok, now to reduce by 10%: 100% - 10% = 90% (yeah, that is easy, but now for the part surprisingly few people get) % means percent, which means divide by 100. So lets divide 90 by 100 and hey ho, its 0.9. Now for the next bit that trips people up: Multiply the 8.75 by 0.9 and we get 7.875. What has magically happened here is we have used multiplication to carry out a subtraction. Boom, minds blown, yeah, I know.
Righty, now we have a useless decimal number of minutes because our timer works in minutes and seconds. So we need to know how many seconds to set it for. Just do the decimal conversion backwards. Subtract off the 7 whole minutes part to leave the 0.875 minutes part. Multiply that by 60 seconds and get 52.5 seconds. Now this is a fiddly number of seconds so we will call it 50 seconds. Add the 7 whole minutes back on to get 7:50. Right, now is it pint time? No? What do you mean I cheated you out of 2.5 seconds... No one cares about those, this is an analogue process and most analogue things are normally within a tolerance of ±50%. Plus it'll take far longer than that to pour the chemicals in and out. Anyway, pint time.


Thank you Nicky. Since then Nicky made this handy calculator to do the maths bit for you.

So, I developed the film for 7:50 minutes. Here are the results. Although conditions were very bright, they were also very hazy, so I tried to focus on close-ups and keep the sky and far distance out of the photos. Where that wasn't possible I used a yellow filter to cut through some of the haze.

Bad Hair Day. Taken with the lens pulled out for close-ups. This creates a strong vignette.
Old Chimney.


Fence Post - Again taken with the lens pulled out, creating a strong vignette

Tree. Taken with a yellow filter.

Lisa Jane.

Gate


Shore Path. Taken with a yellow filter.


Staggered Fences. Taken with a yellow filter.


Ruins


Garden Shed (also featuring cameo of Tree). Taken with a yellow filter.


Friendly Horse. Taken with lens pulled out.


Old Bench.

I'm really happy with the results. The film works well pulled to ISO 50. I'm also delighted with how the Ful-Vue performed. Looking forward to more experimenting with Catlabs film.


Thursday 16 April 2020

Catlabs Test Shots - First Results


I wouldn't normally have considered yesterday's weather ideal for box camera photography. It was overcast, drizzly, and generally looked a bit miserable. It was EV 12 and didn't look that inviting. It was ideal, then, for my ISO toggling experiment. I grabbed a roll of Catlabs X film 80 and loaded it, not into a Ful-Vue, but into a new addition to the collection, a Ferrania Zeta Duplex.

This Italian box camera dates from the early 1940s and is very different from the Ensign Ful-Vues. For a start, it doesn't shoot squares, it shoots dual format 6x9 or 6x4.5. Its viewfinders are absolutely tiny. It has a choice of two apertures, f/11 and f/16, and it shoots at 1/50. Its main selling point however is its smiley face.

I'd never shot one of these before and I must say, once you're used to the huge viewfinders on the Ensigns, composing with those miniscule little lenses on the Ferrania was seriously challenging. Otherwise the experience is very much the same. Hold it still and press the shutter release.

Seeing as it was EV12, I decided to push the film 2 stops to ISO 320. I developed the film in HC110 (B) for 19 minutes. Here are some of the results.


Sheep Pen
Bridge
Bridge looking the other way
Twisted old trees
Trail of seaweed

Low cloud

Splash


Rocks


Waves


Silhouette
Clouds

Pretty delighted with the results. Catlabs X film 80 is a lovely film and there is no perceivable grain, even when pushed to 320. I shot these pictures in the late evening and by the last couple of shots the light was getting very low. The clouds shot above was the final frame, which I took by holding the camera against a signpost and then making two exposures. Upping the exposure levels a shade in post processing recovered a lot of the data, though the foreground is still pretty dark. Pleased with how the clouds came out though.

The lens in the Ferrania produces images with extremely soft edges. They certainly look like they were taken on a vintage camera.

Very happy with my first results.