Pages

All about box camera photography with a special emphasis on Ensign Ful-Vue cameras.
Showing posts with label pushing film. Show all posts

Monday, 12 April 2021

Testing the Halina 6-4

Well, it's safe to say that I haven't exactly been itching to go out with the box cameras during the Covid 19 pandemic. The travel restrictions meant that I'd have to shoot the same few miles around my home again and again which gets dull fast. The abysmal Winter weather didn't exactly lend itself to good box camera photography either, so many months have passed where all I've really done is keep the cameras dusted and wait for happier times.

The restrictions haven't lifted yet, but some of my as yet untested cameras have been staring me in the face, longing to be loaded and used again for the first time in who knows how long. This weekend I couldn't stand it any more, so I planned a brief excursion just a few minutes from home where hopefully there would be some nice seascapes and maybe some of the local livestock would be obliging and pose for some snaps. 

The camera of choice was a Halina 6-4, which, on the one hand is quite a swish box camera in that it has three apertures to choose from, double exposure interlock prevention, and shoots dual format, either 6x6 or 4x4. On the other hand the build quality is shocking, looking as though it was assembled as cheaply and quickly as possible. The edges are rough and the joins aren't exactly flush (particularly when you try and sit the 4x4 mask in place, it wobbles a bit, at least on my model), and you shudder as you place the film back on after loading because you strongly suspect it won't keep the film light tight. So, not exactly a precision model.

However, there is something about Halina cameras that make them an absolute joy to shoot. One of my favourite 35mm cameras is my Halina Paulette Electric. It wasn't exactly assembled with any love or care either but the experience of using it just puts a smile on your face. Maybe it's the knowledge that the camera isn't a laboratory standard precision instrument that needs treating with reverence and ceremony every time you raise it to your eye. Shooting the Halina feels so laid back and easy that you don't really think about buttons and dials and just think about the composition. One final point worth making is that while the camera bodies aren't exactly oozing quality, Halina did put good lenses in them, and the lenses are far more important. What this means is the cameras still take good pictures, and this is precisely what I found with the Halina 6-4. 

My husband gave the camera a quick dab of oil to get the focus ring moving as it should again and once we were satisfied the shutter was behaving itself I loaded it with some Catlabs X Film 80 and then we got togged up to go out. It may be late March but it was freezing outside and blowing a gale. Not exactly great shooting conditions but this was the afternoon I had scheduled for it, so out we went. 

There were a few challenges keeping the camera still in the wind. I typically just had to find somewhere sheltered or get low to the ground or wedge myself against some of the rock faces. I used the 4x4 mask to get 16 test shots and then we made our way home to huddle in front of the fire with a warm drink.

Predictably, the lighting conditions outside weren't favourable for the film's box speed, so we pushed the film in development to ISO 125. The camera had a fixed shutter speed of 1/50 and the widest aperture available (used in every shot) was f/8. We developed the film in HC110(B) for 11 minutes and 28 seconds, giving inversions every 45 seconds. 

Here are the results (well the good ones where the wind didn't move me and the camera).

Testing the portrait zone (5-10 feet)

Lockdown Fur

Testing the scenes zone (25 feet to infinity)

Hubby scrambling over the rocks.

I liked the swirl patterns in this rock face.

Wondering how much detail in the wood the lens would capture.

Rusty Old Submarine. Okay, it's actually a rusty old silo. One of my favourite test shots, again seeing how much detail the lens would capture.

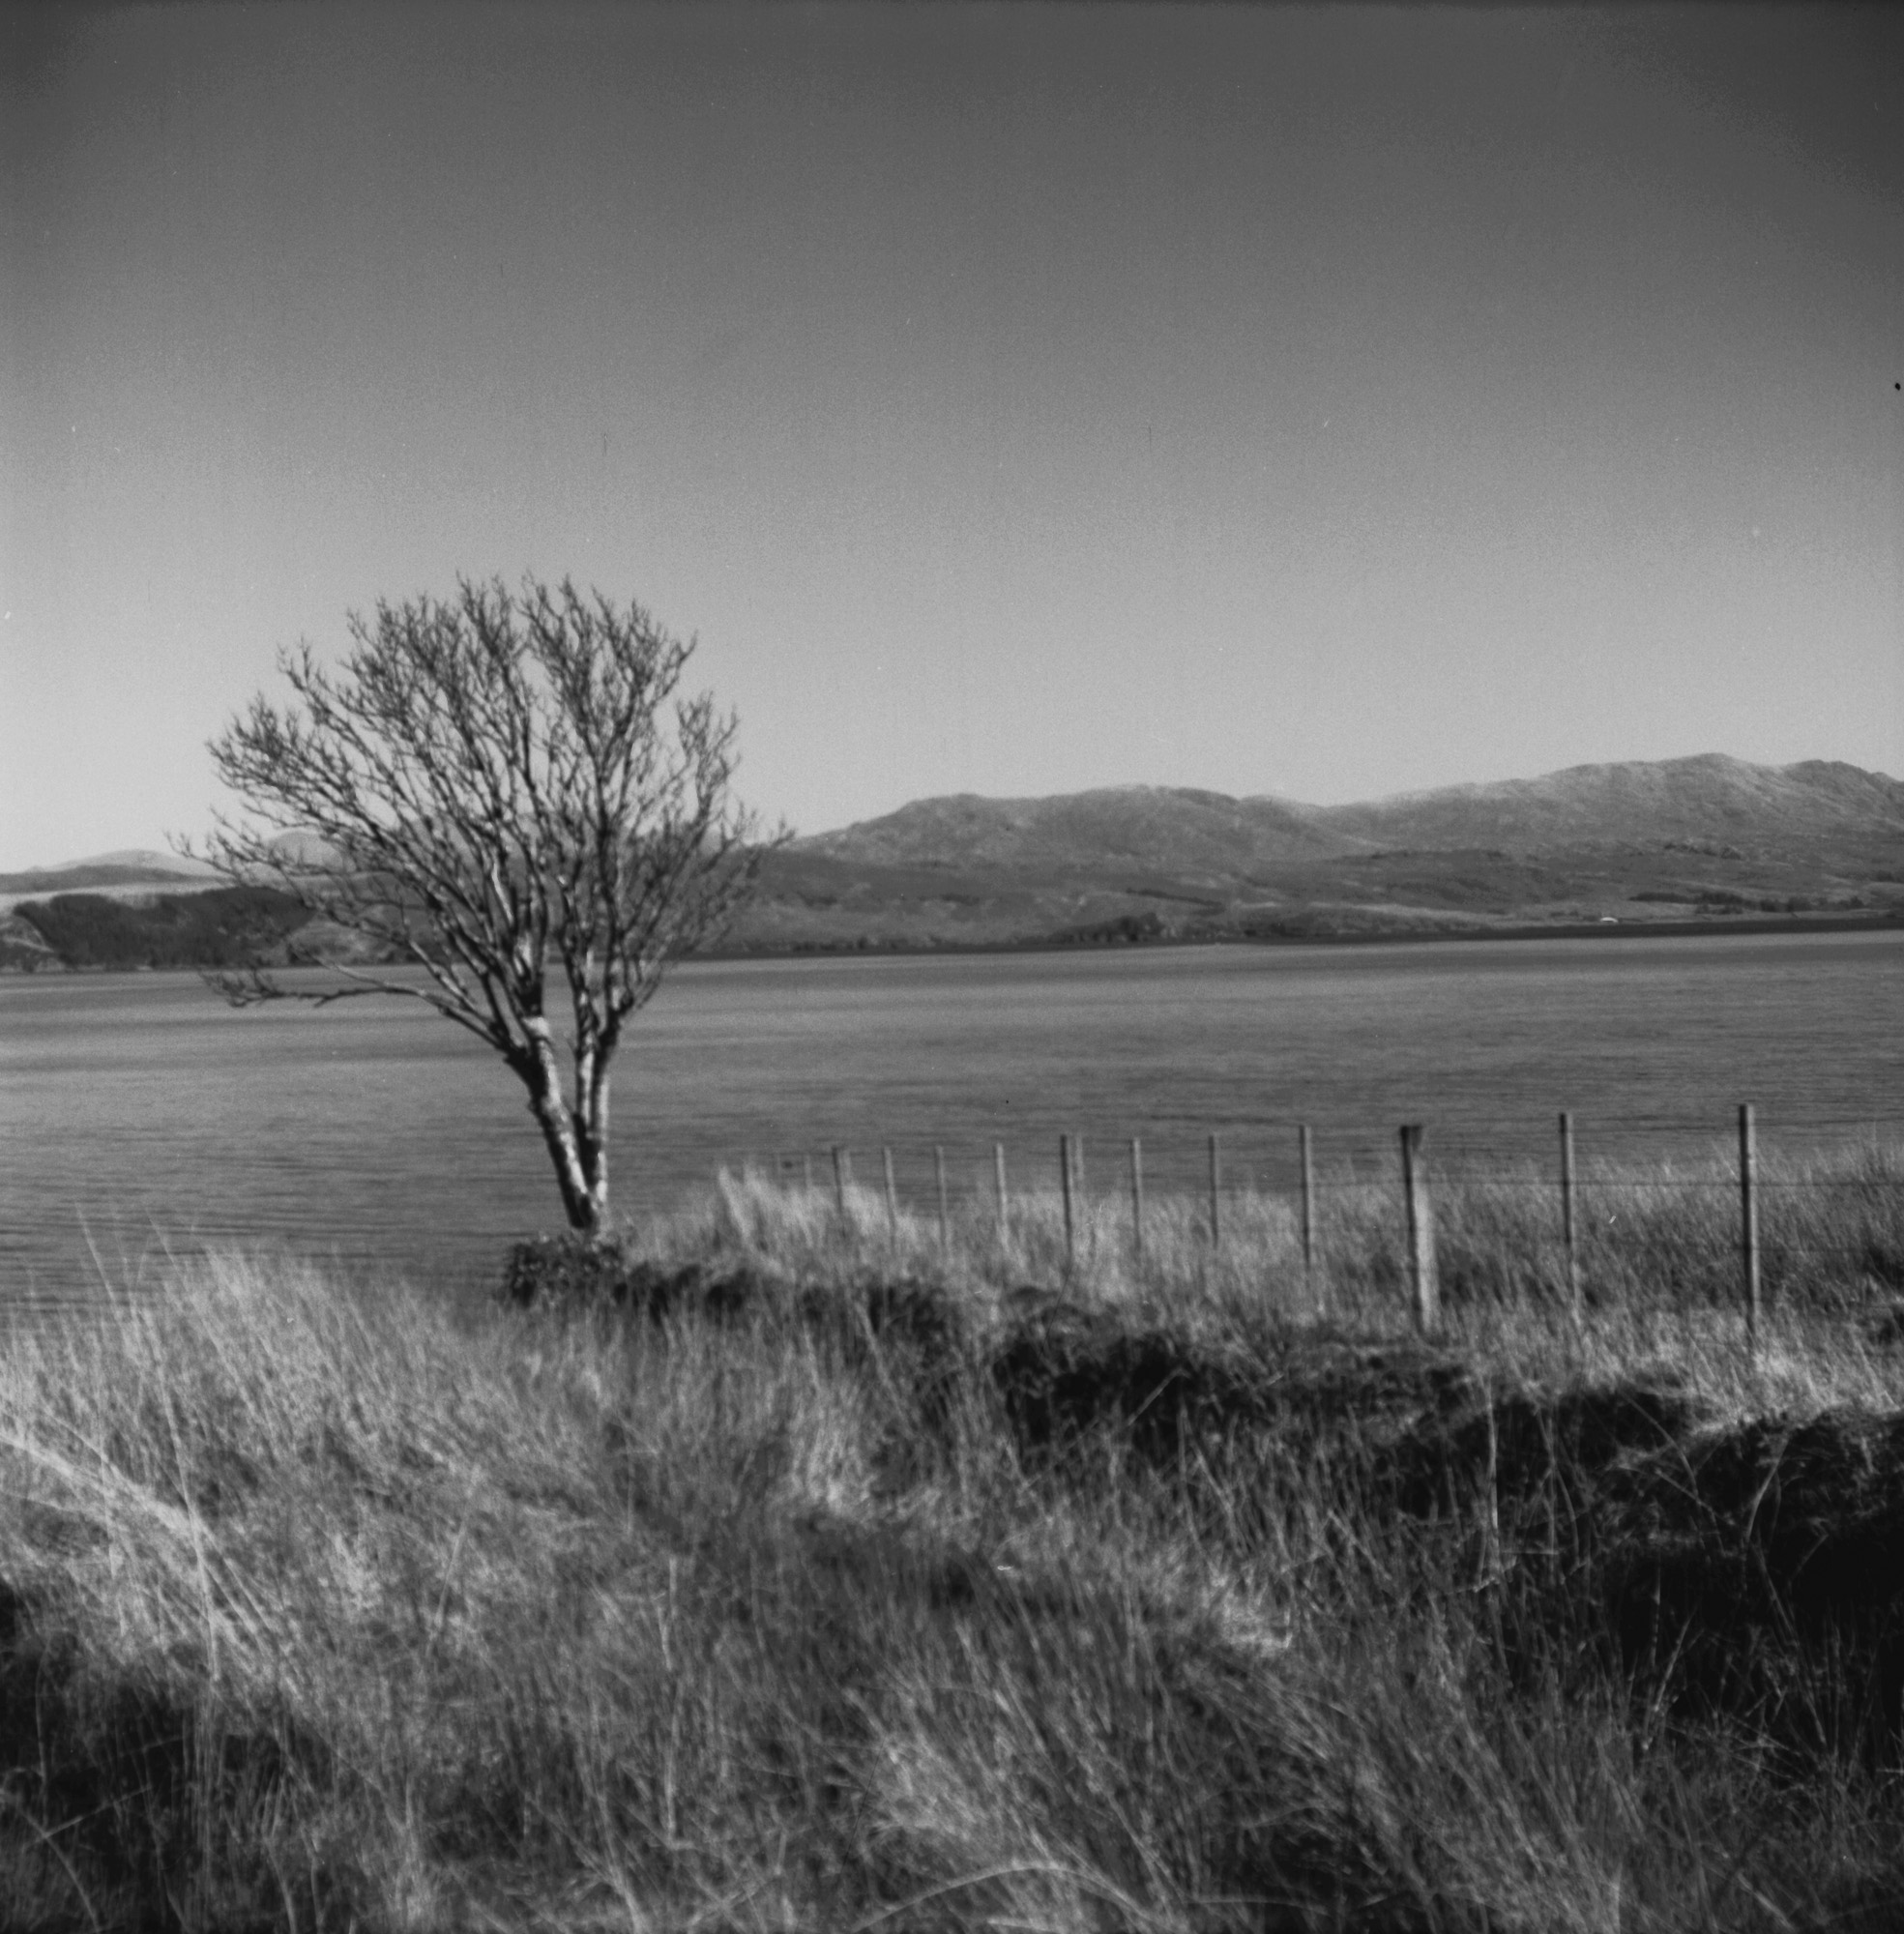
Rocks and Waves. Another generic view testing the scene zone.

Some obliging cows smiling for the camera. By this stage I was freezing and just wanted a cuppa.
 

All in all, not bad. First surprise, the film back didn't allow any light leaks. As for the two-element lens, it performed quite well, especially in the portrait zone. The car tyre, old wooden stile, and submarine shot all have a lot of detail in them. I was super happy with the submarine shot. There was an impressive amount of detail in the metal and rivets, and the highlights on the grass were gorgeous. The scene shots were perfectly serviceable. The resolving power of the lens isn't amazing, so these 4x4 negatives won't enlarge all that successfully. Would they make nice contact prints? Yes. Bearing that in mind, would I shoot 6x6 next time? Probably. 

I will definitely take the Halina 6-4 on another outing. Shooting in a gale in overcast conditions wasn't exactly giving it a fair fight, but even so it performed respectably. I haven't tried the smaller apertures yet, so the sharpness may well improve when shooting scenes at f/11 or f/16.

Another fun Halina camera and one I can recommend if you want a box camera with a little more choice when it comes to apertures. If you are considering this camera because you like the idea of shooting 4x4 just make sure you ask the seller if the mask is included. It detaches from the camera and is easily lost.


Sunday, 21 March 2021

Toggling Your Box Camera's ISO

Note: May not be a box camera.
 

I get it. 1 aperture and 1 shutter speed. Kind of limiting, I know. While it's definitely worthwhile getting familiar with the various EVs your box camera can shoot in without adjustments, it is undeniable that having a workaround for when the light doesn't suit your settings is a big plus. It makes the camera more versatile, increases your creative options, and removes a lot of the frustration:

 "If only I could take that shot, but it's just too bright!"

Well the good news is there are some tools and techniques that can help, so never again do you need to curse yourself for bringing your beloved box camera instead of your SLR.

Too Much Light

Box cameras have slow shutter speeds. Laughably slow by modern standards. Most people these days don't entertain shooting handheld at 1/30th of a second, or at least not without lenses with image stabilisation or cameras with vibration reduction. Lacking these features on our box cameras we have to resort to things like exhaling after the shot has been taken, or placing the camera on a flat surface. This works for the most part, but the slow shutter speed can cause headaches when there is a lot of light. Simply, they may cause the image to be overexposed. 

If my camera is loaded with ISO 200 film and I am shooting in very bright conditions, my pictures will be overexposed by maybe one or two stops. We can solve this "in camera" (as opposed to when we process the film), with the addition of a neutral density filter. 

If you're not familiar with neutral density filters, put simply they reduce the amount of light entering the lens, without a colour bias (at least the good ones). They come in various strengths, so depending on the one you use could reduce the light by 1 to 10 stops (and further if you have the bank balance of an oil tycoon). These have many creative purposes, such as allowing the deliberate use of slow shutter speeds to capture motion blur, (think dreamy waterfall shots), or allowing a wide open aperture to produce more shallow depth of field.

For our immediate purposes, we just want our shot to expose correctly. So if our light meter determines that we risk an image being 1 stop over exposed, we can place an ND2 filter in front of the lens and then take the shot as normal. If we risk 2 stops of over exposure, we do the same with an ND4 filter. If 3 stops, we use an ND8 filter. Simple. 

Too Little Light

I have a box camera loaded with Ilford Pan F 50 (or worse, Rollei RPX 25) and when I get to my location it has turned overcast, typical. This, and other low speed films like lots of light. So finding myself in lighting conditions such as EV12 or EV11, suddenly my famously slow shutter isn't slow enough thanks to the fixed f/11 aperture. Now, this workaround won't be appropriate for all subject matter, especially if it's moving, but the simple answer to this is to secure the camera so it is absolutely still and then take the shot more than once. Each click of the shutter lets in more light.

Take the photo twice to add one stop of light. Take it four times to add 2 stops of light. Eight times to add 3 stops of light etc.

This will work with mountains, but your dog won't sit there perfectly still while you click the shutter release four times, so choose your subjects carefully. 

Ful-Vue settings:

ND8 @ 1/30 = 3 stops less

ND4 @ 1/30 = 2 stops less

ND2 @ 1/30 = 1 stop less

1 shot = 1/30 of a second

2 shots = 1/15 of a second (1 stop extra)

4 shots =1/8 of a second (2 stops extra)

8 shots - 1/4 of a second (3 stops extra)

A handy way to get the ND range is a small cheap variable ND filter, which will be plenty reliable at these low settings.

There we go, we can now get +/- 3 stops on a box camera with only 1 extra filter in the gear bag. You can take it further, but pressing the shutter 16 times will get tiresome and the good high stop ND filters are pricey.

Development

Both of the approaches outlined so far to either increase or reduce the amount of light entering the lens are approaches that can be done on location, in the moment, in camera. However, there is another approach that can also help keep you snapping away without worry that the pictures will be under- or overexposed. This approach takes place during development, back home, once all the pictures are taken. Or, if you don't develop your own film, a lab will do this for you. Just make sure they know your requirements.

The processes are called push, and pull developing. Basically, you compensate for the under- or overexposed images by toggling their development times. If your images were overexposed, you want to pull the film. If your images were underexposed, you want to push the film. 

It is highly important to note that this only works for the whole roll, not individual shots.

Pulling Film

I've discussed pulling film here before, but to pull film you need to reduce the development time by about 10% for every stop pulled. My husband has a neat calculator for this on his own website, which can help you determine the correct development times. If you are loaded with ISO 100 film, and decide a reduction of 1 stop to ISO 50 would better suit the lighting conditions, then you pull by 1 stop. If you are loaded with ISO 200 film, then you'd need to pull by 2 stops etc. 

What this means on the actual shoot is that you just take your pictures as normal (no neutral density filters) resulting in a roll of overexposed images. The shorter development time then compensates for this and should result in developed images that look correct and not overexposed. 

Pushing Film

We do this for the opposite scenario. For example, you are loaded with ISO 50 film and an increase of 1 stop to ISO 100 would better suit the lighting conditions. In this instance you push 1 stop. If you need ISO 200, you push 2 stops and so on. Predictably, when pushing, you want to increase the development times. Use Nicky's clever calculator to work out the necessary timings for your own film development.

Again, during the shoot, just take the pictures as normal. No taking multiple exposures. You will end up with a roll of underexposed images and the push processing should correct this. I've got a few posts on this blog where I experiment with this method using Catlabs X Film 80, which produced some good results. By pulling and pushing I was able to treat it anywhere from ISO 50 to 640 without any problems. 

Pros of this Method

1) Nice and flexible. You can basically load up your film, make a mental note of the EV at your shooting location, then work out which ISO would have been best suited to those lighting conditions and push/pull accordingly.

2) Less limiting. You can still shoot your camera even if the box speed of your film isn't ideal and still get good results.

Cons of this Method

1) All or nothing. You can't push/pull just a few frames. It affects the whole roll.

2) Not all films are created equal. You can push and pull some no bother. Others within reason, and others should be left well alone. You'll have a lot more wiggle room with black and white film than colour. Make sure you do your research first.

3) Just like with digital photos, if you toggle the ISO this way you increase the noise. The more stops you push, the more grainy the images. The more stops you pull the more contrast you lose.

Things to Consider

1) Is the roll already part shot with correctly exposed images? Then you probably don't want to shoot the rest of the roll with a view to push/pull processing. You'll ruin the first images.

2) Are the lighting conditions really changeable? Then you probably want to correct the exposures in camera with filters or multiple exposures, or you will get inconsistent results.

3) Do you know that the lighting will stay consistently too high or too low? Then correcting the exposures in development is the best option if the camera is loaded, or the film cupboard was sparse.

Some Results

Catlabs X Film 80 pushed to 640
Catlabs X Film 80 pulled to 50


Sunday, 26 April 2020

Pushing Catlabs to 640


Having had good results pushing Catlabs X Film 80 all the way to 320, I decided to try my luck one stop further at 640. I loaded up the Ful-Vue model II and waited for the sun to start setting. When it was low enough I ventured out to my usual spots for test shots and returned with 12 exposed frames. I developed the film in Rodinal 1+25 at 24°C for 30 minutes. I had absolutely no idea what to expect. I didn't know if the development would work or if the pictures would all be horribly underexposed.


Here are the results:


Modus - The shiniest my car has ever looked - lens set for close-ups


Backlit Daffodils - very happy with how this came out - lens set for close-ups.


Firemore Beach and Cable Hut


Loch Ewe


Jetty - with lens flare


Cave


Looking out to sea - light was getting pretty low by now


Trees - A little underexposed but still nice


Cottage


The Torridons


Gate Post - lens set for close-ups


Another view of the Torridons

So, once again, pretty impressed. That little meniscus lens produced some nice sharp images, especially of my car and the gate post. The Catlabs film handled pushing this far just fine.

Tuesday, 21 April 2020

Pushing Catlabs Film with an Ensign Cupid

Today I shot another roll of Catlabs X Film 80, this time pushing it to ISO 200. I had another box camera that I hadn't tested yet so I thought I'd take it out and see what it can produce. The camera is a very early box camera made by Houghtons Ltd and couldn't be more different from the Ful-Vue. It is an Ensign Cupid, which was in production between 1922 and 1928.

The first thing you'll notice is that it isn't a box, in fact it has a very distinct T section. There is no glass viewfinder. Instead there is a huge fold-up frame finder with cross-hairs to assist with aim. Obviously this means you hold the camera at eye-level when shooting.

To cock the shutter you pull up the pin in front of the frame finder. There is a shutter lever to choose between Instantaneous and Time exposure and at the base of that is the shutter release button.

The achromatic lens helps to prevent aberrations. The camera shoots at roughly 1/40 at f/11. It's unique selling point, though, is that it shoots half frames so instead of 8 exposures you get 16.

So, naturally I was keen to see what this camera could do. It was shooting in the evening sun so I decided to push the film to 200 in development. The negatives were developed in HC110 (B) for 15 minutes. If you are curious about how to calculate timings for pushing or pulling film, check out my previous post, which has a link to a neat calculator created by my husband.

Here are the results:


So, for a camera that is nearly 100 years old I must say it's a delight to shoot and produces nice images. The lens stays remarkably sharp close to the edges and only gives a mild vignette. Clearly it also produces some impressive flare when pointed at the sun, though whether that is good or bad is personal preference. While the viewfinder looks comical I got pretty much everything I wanted in the frame, so it worked.

Pushing Catlabs to 200 worked nicely with these images.

Thursday, 16 April 2020

Catlabs Test Shots - First Results


I wouldn't normally have considered yesterday's weather ideal for box camera photography. It was overcast, drizzly, and generally looked a bit miserable. It was EV 12 and didn't look that inviting. It was ideal, then, for my ISO toggling experiment. I grabbed a roll of Catlabs X film 80 and loaded it, not into a Ful-Vue, but into a new addition to the collection, a Ferrania Zeta Duplex.

This Italian box camera dates from the early 1940s and is very different from the Ensign Ful-Vues. For a start, it doesn't shoot squares, it shoots dual format 6x9 or 6x4.5. Its viewfinders are absolutely tiny. It has a choice of two apertures, f/11 and f/16, and it shoots at 1/50. Its main selling point however is its smiley face.

I'd never shot one of these before and I must say, once you're used to the huge viewfinders on the Ensigns, composing with those miniscule little lenses on the Ferrania was seriously challenging. Otherwise the experience is very much the same. Hold it still and press the shutter release.

Seeing as it was EV12, I decided to push the film 2 stops to ISO 320. I developed the film in HC110 (B) for 19 minutes. Here are some of the results.


Sheep Pen
Bridge
Bridge looking the other way
Twisted old trees
Trail of seaweed

Low cloud

Splash


Rocks


Waves


Silhouette
Clouds

Pretty delighted with the results. Catlabs X film 80 is a lovely film and there is no perceivable grain, even when pushed to 320. I shot these pictures in the late evening and by the last couple of shots the light was getting very low. The clouds shot above was the final frame, which I took by holding the camera against a signpost and then making two exposures. Upping the exposure levels a shade in post processing recovered a lot of the data, though the foreground is still pretty dark. Pleased with how the clouds came out though.

The lens in the Ferrania produces images with extremely soft edges. They certainly look like they were taken on a vintage camera.

Very happy with my first results.